Settings: Account
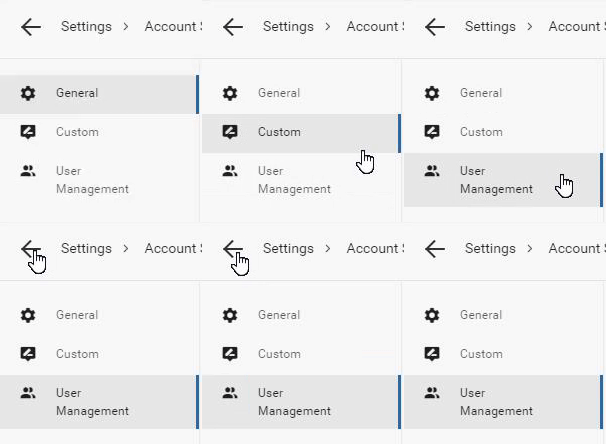
 This section of the Settings tab allows you to change any account settings for the Platform. The three parts of this section include:
General
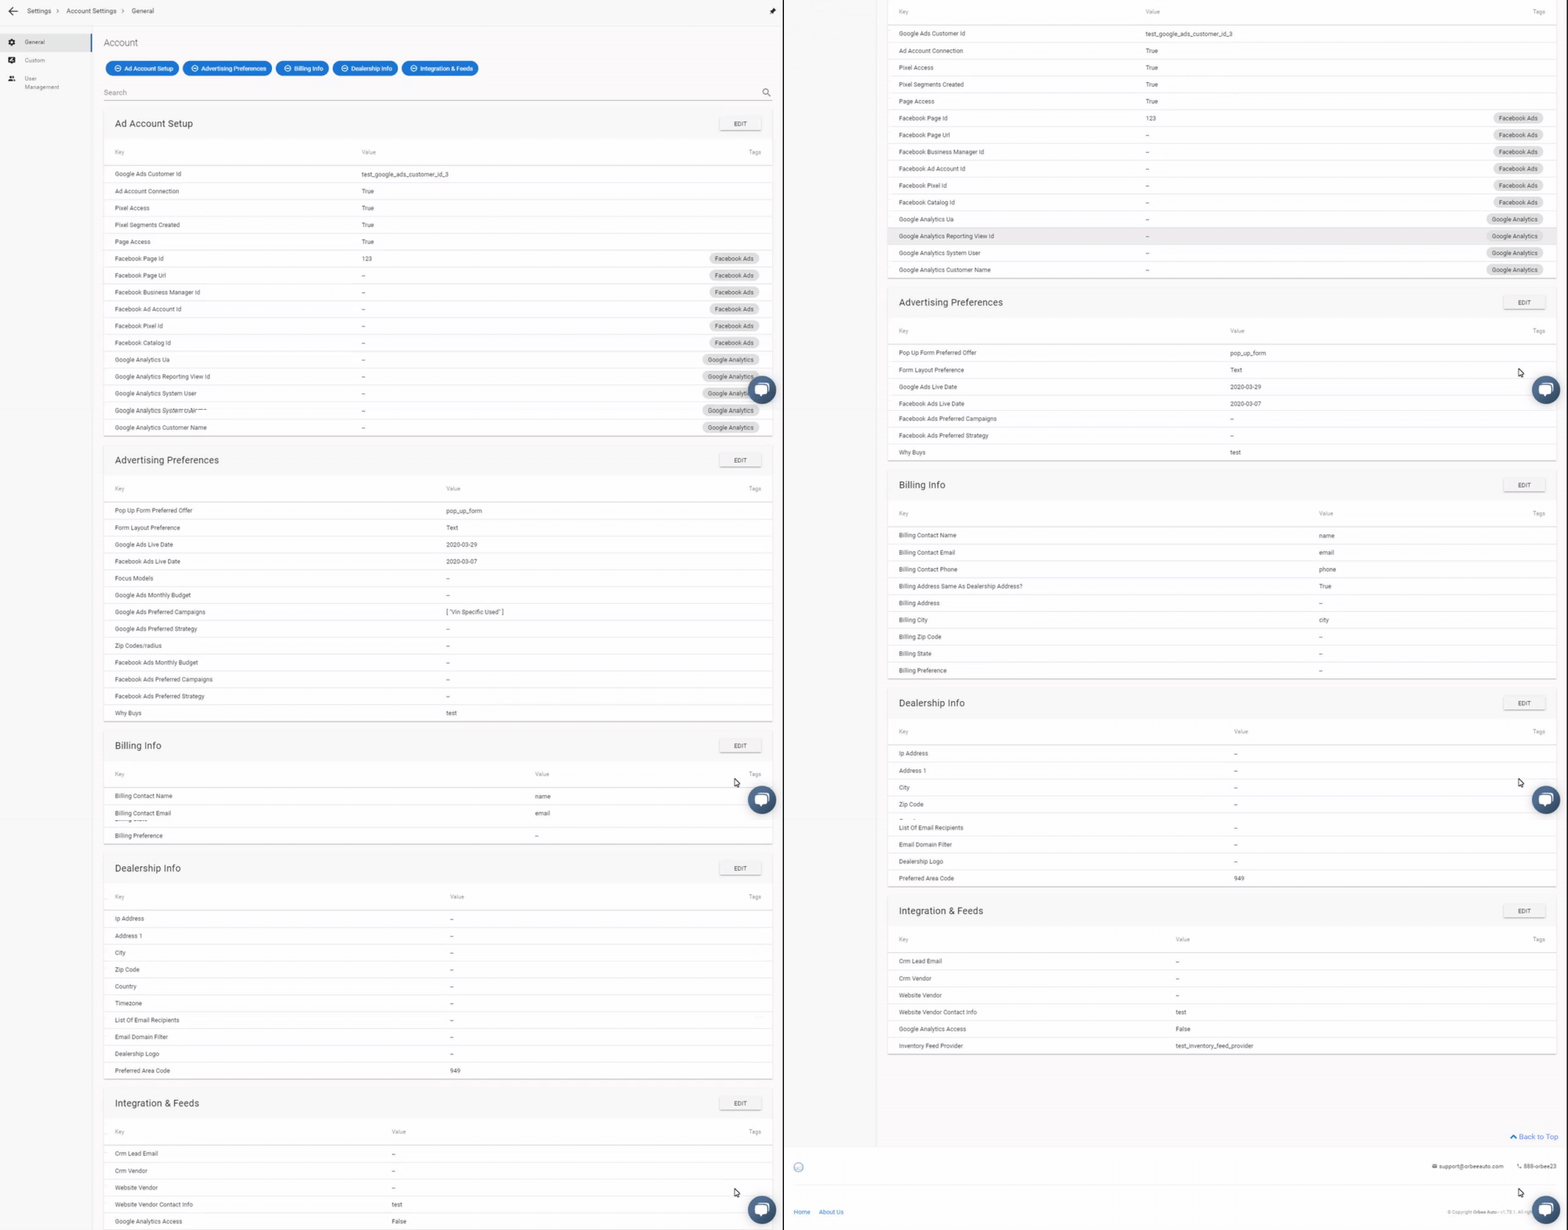
- The General subsection under Settings: Account allows you to adjust any account information for Ad Account Setup, Advertising Preferences, Billing Info, Dealership Info, and Integration & Feeds.
- You can edit the values by clicking the
 button.
 - To save, click the save button. If you would like to cancel any edits, click the cancel button.
- You can edit the values by clicking the

- Filters can be applied to Ad Account Setup, Advertising Preferences, Billing Info, Dealership Info, and Integration & Feeds to show the fields that you would prefer to display.

- There is also a search bar that can help you look for a specific field or description by typing in the desired information.
Custom

- The default settings page will be Other and you will see Custom Settings. You can click + New Setting to create a new Custom Setting.

- You will see these two textboxes with Setting Name and Setting value. Here, you will give a name to your setting and put its value.

- Under Contact Settings, your Account Manager's name and email will be listed here. If there are any changes that need to be made, Orbee can do it for you.

- The next part will be the Location Settings. You can click the Edit button to adjust any settings for your locations. You will need to put a Setting Name and fill in the Setting once these textboxes are prompted.

- To delete any data, you can click the Delete option below each setting. You will be prompted to type DELETE into the textbox and press the Delete button.

- You can input Location Search Terms for your car dealership as well. To do this, you will need to click +New and add a new location.

- To add a new IP address, you will need to click + New IP and then input your IP address as well as the description (car dealership name, home network, etc).

- The last option for the Location Settings is the timezone setting. You can set your timezone in this textbox.

- You will be looking at Brand Settings next.

- You will need to enter your car dealership's website URL here in this first textbox (Main Site).

- You can also add your competitors in this setting as well.
User Management

- On this table, it will have:
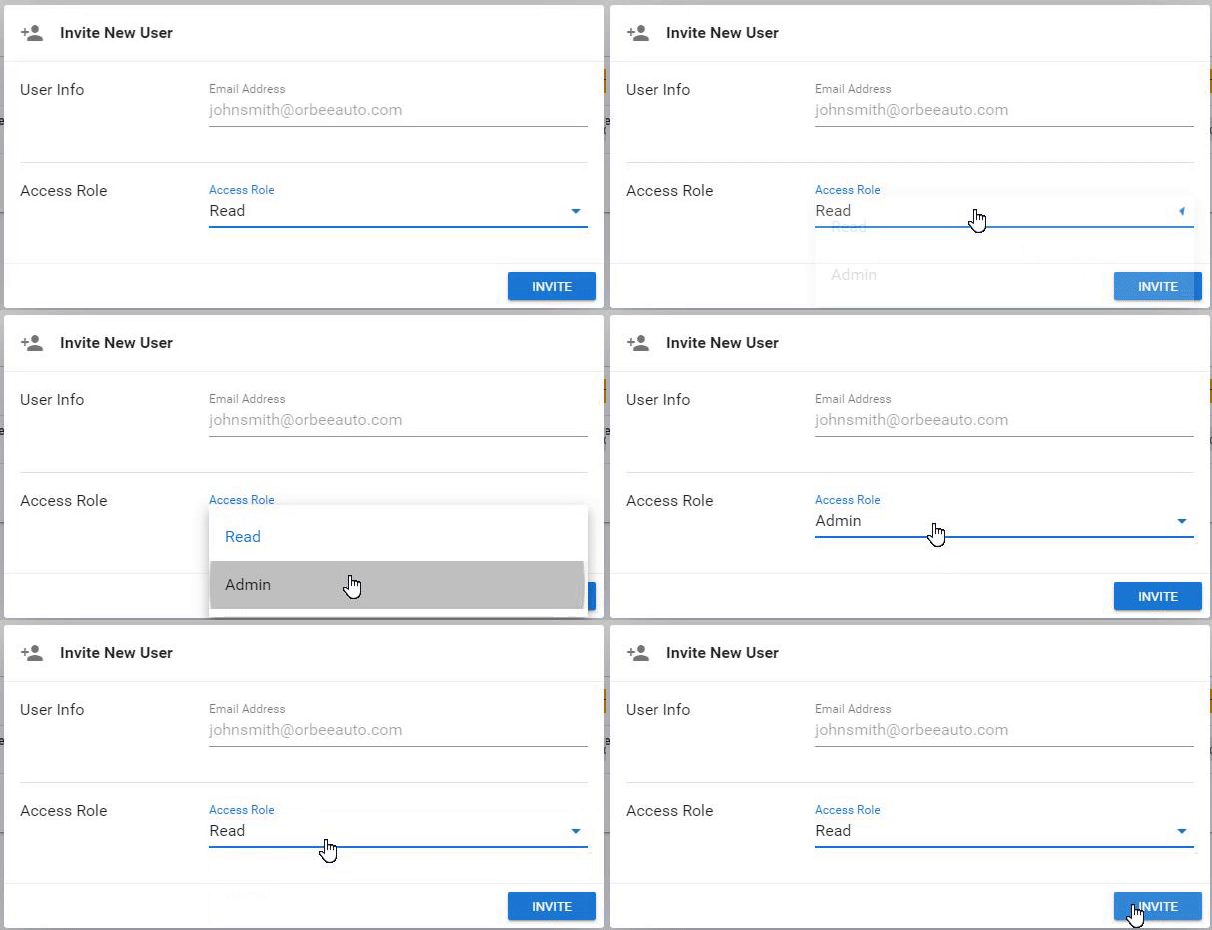
ID the number that is associated with the user Name the name of the user Email the email address of the user Role this will be whether the user has administrator access or read-only access - If the user has admin access, it can create a new additional user to have access to the Platform by clicking
 and typing in the email address and the role they would like the user to have.

-
- Note: If the user is not an admin on the account, it will not be able to create a new user under this account.
Last Updated: June 11, 2020 4:44 PM
The next section of the Settings tab will be Property.
